ISO 9154:2016
(Main)Aerospace — Bolts, with MJ threads, made of heat-resistant nickel-based alloy, strength class 1 550 MPa — Procurement specification
Aerospace — Bolts, with MJ threads, made of heat-resistant nickel-based alloy, strength class 1 550 MPa — Procurement specification
ISO 9154.2016 specifies the characteristics and quality assurance requirements for MJ threads bolts made of heat-resisting nickel-base alloy, of strength class 1 550 MPa, for aerospace construction. It is applicable whenever it is referenced in a definition document.
Aéronautique et espace — Vis à filetage MJ, en alliage résistant à chaud à base de nickel, classe de résistance 1 550 MPa — Spécification d'approvisionnement
General Information
Relations
Standards Content (Sample)
INTERNATIONAL ISO
STANDARD 9154
Second edition
2016-02-15
Aerospace — Bolts, with MJ threads,
made of heat-resistant nickel-based
alloy, strength class 1 550 MPa —
Procurement specification
Aéronautique et espace — Vis à filetage MJ, en alliage résistant
à chaud à base de nickel, classe de résistance 1 550 MPa —
Spécification d’approvisionnement
Reference number
©
ISO 2016
© ISO 2016, Published in Switzerland
All rights reserved. Unless otherwise specified, no part of this publication may be reproduced or utilized otherwise in any form
or by any means, electronic or mechanical, including photocopying, or posting on the internet or an intranet, without prior
written permission. Permission can be requested from either ISO at the address below or ISO’s member body in the country of
the requester.
ISO copyright office
Ch. de Blandonnet 8 • CP 401
CH-1214 Vernier, Geneva, Switzerland
Tel. +41 22 749 01 11
Fax +41 22 749 09 47
copyright@iso.org
www.iso.org
ii © ISO 2016 – All rights reserved
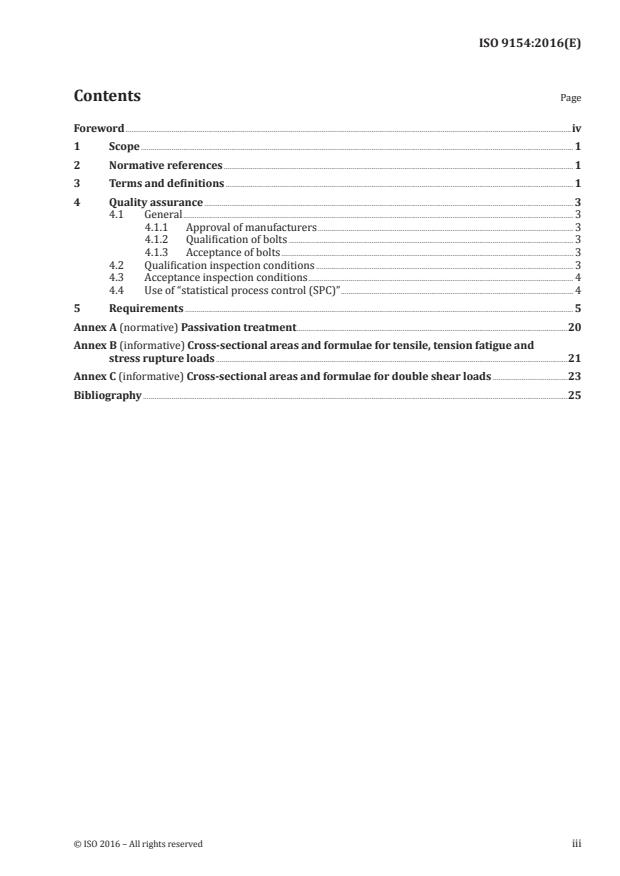
Contents Page
Foreword .iv
1 Scope . 1
2 Normative references . 1
3 Terms and definitions . 1
4 Quality assurance . 3
4.1 General . 3
4.1.1 Approval of manufacturers . 3
4.1.2 Qualification of bolts . 3
4.1.3 Acceptance of bolts . 3
4.2 Qualification inspection conditions . 3
4.3 Acceptance inspection conditions . 4
4.4 Use of “statistical process control (SPC)” . 4
5 Requirements . 5
Annex A (normative) Passivation treatment .20
Annex B (informative) Cross-sectional areas and formulae for tensile, tension fatigue and
stress rupture loads .21
Annex C (informative) Cross-sectional areas and formulae for double shear loads .23
Bibliography .25
Foreword
ISO (the International Organization for Standardization) is a worldwide federation of national standards
bodies (ISO member bodies). The work of preparing International Standards is normally carried out
through ISO technical committees. Each member body interested in a subject for which a technical
committee has been established has the right to be represented on that committee. International
organizations, governmental and non-governmental, in liaison with ISO, also take part in the work.
ISO collaborates closely with the International Electrotechnical Commission (IEC) on all matters of
electrotechnical standardization.
The procedures used to develop this document and those intended for its further maintenance are
described in the ISO/IEC Directives, Part 1. In particular the different approval criteria needed for the
different types of ISO documents should be noted. This document was drafted in accordance with the
editorial rules of the ISO/IEC Directives, Part 2 (see www.iso.org/directives).
Attention is drawn to the possibility that some of the elements of this document may be the subject of
patent rights. ISO shall not be held responsible for identifying any or all such patent rights. Details of
any patent rights identified during the development of the document will be in the Introduction and/or
on the ISO list of patent declarations received (see www.iso.org/patents).
Any trade name used in this document is information given for the convenience of users and does not
constitute an endorsement.
For an explanation on the meaning of ISO specific terms and expressions related to conformity
assessment, as well as information about ISO’s adherence to the WTO principles in the Technical
Barriers to Trade (TBT) see the following URL: Foreword - Supplementary information
The committee responsible for this document is ISO/TC 20, Aircraft and space vehicles, Subcommittee
SC 4, Aerospace fastener systems.
This second edition cancels and replaces the first edition (ISO 9154:1999), which has been
technically revised.
Annex A forms a normative part of this International Standard. Annexes B and C are for information only.
iv © ISO 2016 – All rights reserved
INTERNATIONAL STANDARD ISO 9154:2016(E)
Aerospace — Bolts, with MJ threads, made of heat-
resistant nickel-based alloy, strength class 1 550 MPa —
Procurement specification
1 Scope
This International Standard specifies the characteristics and quality assurance requirements for
MJ threads bolts made of heat-resisting nickel-base alloy, of strength class 1 550 MPa, for aerospace
construction.
It is applicable whenever it is referenced in a definition document.
2 Normative references
The following documents, in whole or in part, are normatively referenced in this document and are
indispensable for its application. For dated references, only the edition cited applies. For undated
references, the latest edition of the referenced document (including any amendments) applies.
ISO 2859-1, Sampling procedures for inspection by attributes — Part 1: Sampling schemes indexed by
acceptance quality limit (AQL) for lot-by-lot inspection
ISO 3452-1, Non-destructive testing — Penetrant testing — Part 1: General principles
ISO 5855-2, Aerospace — MJ threads — Part 2: Limit dimensions for bolts and nuts
3 Terms and definitions
For the purposes of this document, the following terms and definitions apply.
3.1
batch
quantity of finished products, manufactured using the same processes, from a single material cast
(single heat of alloy) having the same definition document number, diameter, and length code, heat
treated together to the same specified condition and produced as one continuous run
3.2
inspection lot
quantity of bolts products from a single production batch (3.1) having the same definition document
number
3.3
definition document
document specifying directly or indirectly all the requirements for products
Note 1 to entry: The definition document may be an International Standard, an in-house standard, or a drawing.
3.4
crack
rupture in the material which may extend in any direction and which may be intercrystalline or
transcrystalline in character
3.5
seam
longitudinal open surface defect
3.6
lap
surface defect caused by folding over metal fins or sharp corners and then forming them into the surface
3.7
crevice
hollow area at thread crest
3.8
inclusions
non-metallic particles originating from the material manufacturing process
Note 1 to entry: These particles may be isolated or arranged in strings.
3.9
microstructural shearing
shear banding
V- or U-shaped rippled grain structure immediately below the thread root or chevron-shaped rippled
grain structure within the thread crest
3.10
sampling plan
plan according to which one or more samples are taken in order to obtain information and possibly to
reach a decision, if possible
Note 1 to entry: In this International Standard, each sampling plan defines the number of bolts to be inspected as
1)
a function of the size of the batch and the acceptance number [number of defective items acceptable (Ac)]
3.11
simple random sampling
sampling of n items from a population of N items in such a way that all possible combinations of n items
have the same probability of being chosen
3.12
critical defect
defect that, according to judgement and experience, is likely to result in hazardous or unsafe conditions
for individuals using, maintaining, or depending upon the considered product, or that is likely to
prevent performance of the function of a major end item
3.13
major defect
defect other than critical that is likely to result in a failure or to reduce materially the usability of the
considered product for its intended purpose
3.14
minor defect
defect that is not likely to reduce materially the usability of the considered product for its intended
purpose or that is a departure from established specifications having little bearing on the effective use
or operation of this product
3.15
limiting quality
LQ
a quality level which corresponds to a specified and relatively low probability of
acceptance
Note 1 to entry: It is the limiting lot quality characteristic that the consumer is willing to accept with a low
probability that a lot of this quality would occur.
1) Supplementary information taken from ISO 2859-1.
2 © ISO 2016 – All rights reserved
Note 2 to entry: For the purposes of this International Standard, the limiting quality quoted in Table 4 corresponds
to a probability of acceptance of 10 %.
3.16
acceptable quality limit
AQL
maximum percent defective (or the maximum number of defects per hundred units) that, for purposes
of sampling inspection, can be considered satisfactory as a process average
Note 1 to entry: Variant: Quality level, which in a sampling plan, corresponds to a specified but relatively high
probability of acceptance.
4 Quality assurance
4.1 General
4.1.1 Approval of manufacturers
All parts which are going to be assembled to a flying aircraft, need to be qualified per airworthiness
regulations. The manufacturer of these parts shall have a quality system that complies with EASA /
FAA or an equivalent regulation such as SAE AS 9100 / EN 9100.
Quality documentation for parts produced in accordance with this International Standard, shall be
maintained for a minimum period of 10 years.
The approval of the manufacturer shall be granted by the Certification Authorities, or their appointed
representative, who may be the prime contractor.
4.1.2 Qualification of bolts
2)
The purpose of inspections is to verify that the design and manufacturing conditions of a bolt enable it
to satisfy the requirements of this International Standard.
The qualification shall be granted by the Certification Authorities in the purchaser’s country, or their
appointed representative, who may be the prime contractor.
4.1.3 Acceptance of bolts
The purpose of inspections is to verify, as simply as possible, using a method which is inexpensive,
with the uncertainty inherent in statistical sampling, that the bolts satisfy the requirements of this
International Standard.
They shall be carried out by the manufacturer or under his responsibility.
The manufacturer is responsible for the quality of the bolts manufactured.
4.2 Qualification inspection conditions
Unless otherwise specified, the inspection shall be carried out on the following:
— each type and diameter of bolt;
— 28 bolts selected from a single inspection lot by simple random sampling.
2) In order to simplify the text, the term “inspections” used in this International Standard also refers to “inspections
and tests”.
The test programme may possibly be reduced, or the qualification granted, without inspection: Any
such decision shall be based on the results obtained on similar types and diameters of bolts, provided
that the design and manufacturing conditions are identical.
The inspections shall be repeated on any bolt if the manufacturing conditions have modified.
Table 2 indicates the allocation of bolt sample for the inspections.
4.3 Acceptance inspection conditions
Inspections shall be carried out on each production batch or inspection lot. Bolts from the batch or lot
to be inspected shall be selected by simple random sampling.
Each bolt may be submitted to several inspections, provided that none of characteristics to be verified
has been previously altered during any of these inspections.
The bolts to be subjected to destructive inspections may be those on which non-destructive inspections
have been carried out.
If a more stringent inspection is deemed necessary, all or part of the qualification inspections may be
performed during the acceptance inspections. In this case, the number of bolts submitted is the same as
that submitted for qualification inspection.
Pr
...


Questions, Comments and Discussion
Ask us and Technical Secretary will try to provide an answer. You can facilitate discussion about the standard in here.