ISO/TS 16943:2019
(Main)Thermoplastic pipes for the conveyance of fluids — Inspection of polyethylene electrofusion socket joints using phased array ultrasonic testing
Thermoplastic pipes for the conveyance of fluids — Inspection of polyethylene electrofusion socket joints using phased array ultrasonic testing
This document describes the phased array ultrasonic testing (PAUT) of polyethylene electrofusion (EF) socket joints used for the conveyance of fluids. This document provides a test whereby the presence of imperfections such as voids, wire dislocation, misalignment, pipe under-penetration, particulate contamination, cold fusion and lack of fusion in electrofusion socket joints can be detected. The technique is only applicable to polyethylene electrofusion socket fittings without a barrier to ultrasonic waves. This document also provides requirements for procedure qualification and guidance for personnel qualifications, which are essential for the application of this test method NOTE 1 At the time of publication, experience only exists on the use of PAUT for polyethylene (PE80 and PE100) electrofusion socket joint sizes between 90 mm and 710 mm (SDR 11 and 17)[7][8][9][10][11][12][13]. NOTE 2 Round robin testing has shown that PAUT is a viable method for enhancing the integrity assessment of electrofusion joints[16]. NOTE 3 This document does not apply to the detection of unscraped pipe. Such detection can be achieved by a simple visual inspection, provided mechanical scraping tools are employed.
Tubes en matières thermoplastiques pour le transport des fluides — Contrôle des assemblages par emboîtures électrosoudables en polyéthylène au moyen de la technique par ultrasons multi-éléments
General Information
Relations
Standards Content (Sample)
TECHNICAL ISO/TS
SPECIFICATION 16943
First edition
2019-12
Thermoplastic pipes for the
conveyance of fluids — Inspection
of polyethylene electrofusion socket
joints using phased array ultrasonic
testing
Tubes en matières thermoplastiques pour le transport des fluides —
Contrôle des assemblages par emboîtures électrosoudables en
polyéthylène au moyen de la technique pas ultrasons multi-éléments
Reference number
©
ISO 2019
© ISO 2019
All rights reserved. Unless otherwise specified, or required in the context of its implementation, no part of this publication may
be reproduced or utilized otherwise in any form or by any means, electronic or mechanical, including photocopying, or posting
on the internet or an intranet, without prior written permission. Permission can be requested from either ISO at the address
below or ISO’s member body in the country of the requester.
ISO copyright office
CP 401 • Ch. de Blandonnet 8
CH-1214 Vernier, Geneva
Phone: +41 22 749 01 11
Fax: +41 22 749 09 47
Email: copyright@iso.org
Website: www.iso.org
Published in Switzerland
ii © ISO 2019 – All rights reserved
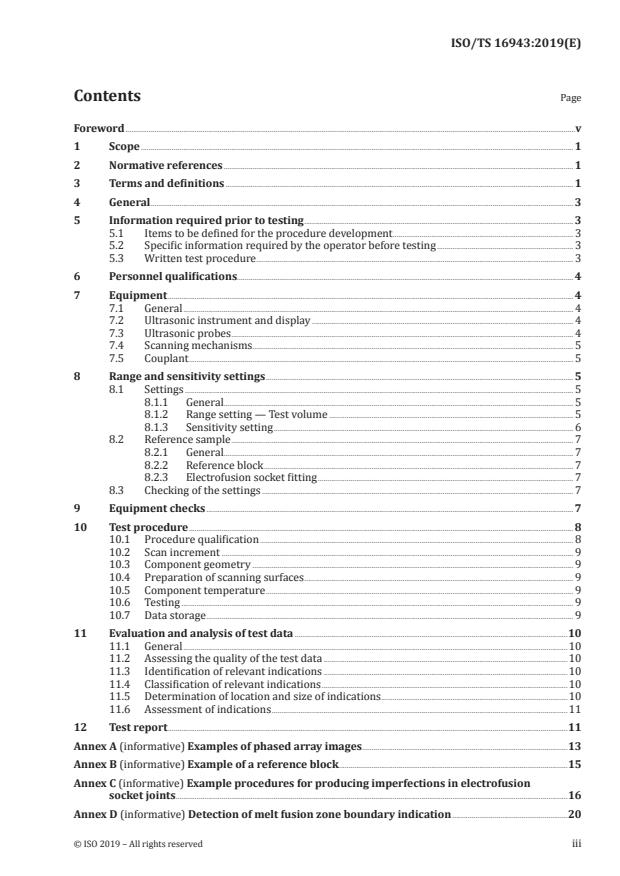
Contents Page
Foreword .v
1 Scope . 1
2 Normative references . 1
3 Terms and definitions . 1
4 General . 3
5 Information required prior to testing . 3
5.1 Items to be defined for the procedure development . 3
5.2 Specific information required by the operator before testing . 3
5.3 Written test procedure . 3
6 Personnel qualifications. 4
7 Equipment . 4
7.1 General . 4
7.2 Ultrasonic instrument and display . 4
7.3 Ultrasonic probes . 4
7.4 Scanning mechanisms. 5
7.5 Couplant . 5
8 Range and sensitivity settings . 5
8.1 Settings . 5
8.1.1 General. 5
8.1.2 Range setting — Test volume . 5
8.1.3 Sensitivity setting . 6
8.2 Reference sample . 7
8.2.1 General. 7
8.2.2 Reference block . 7
8.2.3 Electrofusion socket fitting . 7
8.3 Checking of the settings . 7
9 Equipment checks . 7
10 Test procedure . 8
10.1 Procedure qualification . 8
10.2 Scan increment . 9
10.3 Component geometry . 9
10.4 Preparation of scanning surfaces . 9
10.5 Component temperature . 9
10.6 Testing . 9
10.7 Data storage . 9
11 Evaluation and analysis of test data .10
11.1 General .10
11.2 Assessing the quality of the test data .10
11.3 Identification of relevant indications .10
11.4 Classification of relevant indications .10
11.5 Determination of location and size of indications .10
11.6 Assessment of indications .11
12 Test report .11
Annex A (informative) Examples of phased array images .13
Annex B (informative) Example of a reference block .15
Annex C (informative) Example procedures for producing imperfections in electrofusion
socket joints.16
Annex D (informative) Detection of melt fusion zone boundary indication .20
Bibliography .22
iv © ISO 2019 – All rights reserved
Foreword
ISO (the International Organization for Standardization) is a worldwide federation of national standards
bodies (ISO member bodies). The work of preparing International Standards is normally carried out
through ISO technical committees. Each member body interested in a subject for which a technical
committee has been established has the right to be represented on that committee. International
organizations, governmental and non-governmental, in liaison with ISO, also take part in the work.
ISO collaborates closely with the International Electrotechnical Commission (IEC) on all matters of
electrotechnical standardization.
The procedures used to develop this document and those intended for its further maintenance are
described in the ISO/IEC Directives, Part 1. In particular the different approval criteria needed for the
different types of ISO documents should be noted. This document was drafted in accordance with the
editorial rules of the ISO/IEC Directives, Part 2 (see www .iso .org/ directives).
Attention is drawn to the possibility that some of the elements of this document may be the subject of
patent rights. ISO shall not be held responsible for identifying any or all such patent rights. Details of
any patent rights identified during the development of the document will be in the Introduction and/or
on the ISO list of patent declarations received (see www .iso .org/ patents).
Any trade name used in this document is information given for the convenience of users and does not
constitute an endorsement.
For an explanation on the voluntary nature of standards, the meaning of ISO specific terms and
expressions related to conformity assessment, as well as information about ISO's adherence to the
World Trade Organization (WTO) principles in the Technical Barriers to Trade (TBT) see the following
URL: www .iso .org/ iso/ foreword .html.
This document was prepared by Technical Committee ISO/TC 138, Plastics pipes, fittings and valves
for the transport of fluids, Subcommittee SC 5, General properties of pipes, fittings and valves of plastic
materials and their accessories — Test methods and basic specifications.
Any feedback or questions on this document should be directed to the user’s national standards body. A
complete listing of these bodies can be found at www .iso .org/ members .html.
TECHNICAL SPECIFICATION ISO/TS 16943:2019(E)
Thermoplastic pipes for the conveyance of fluids —
Inspection of polyethylene electrofusion socket joints
using phased array ultrasonic testing
1 Scope
This document describes the phased array ultrasonic testing (PAUT) of polyethylene electrofusion (EF)
socket joints used for the conveyance of fluids. This document provides a test whereby the presence
of imperfections such as voids, wire dislocation, misalignment, pipe under-penetration, particulate
contamination, cold fusion and lack of fusion in electrofusion socket joints can be detected. The
technique is only applicable to polyethylene electrofusion socket fittings without a barrier to ultrasonic
waves. This document also provides requirements for procedure qualification and guidance for
personnel qualifications, which are essential for the application of this test method
NOTE 1 At the time of publication, experience only exists on the use of PAUT for polyethylene (PE80 and
[7][8][9][10][11][12][13]
PE100) electrofusion socket joint sizes between 90 mm and 710 mm (SDR 11 and 17) .
NOTE 2 Round robin testing has shown that PAUT is a viable method for enhancing the integrity assessment
[16]
of electrofusion joints .
NOTE 3 This document does not apply to the detection of unscraped pipe. Such detection can be achieved by a
simple visual inspection, provided mechanical scraping tools are employed.
2 Normative references
The following documents are ref
...


Questions, Comments and Discussion
Ask us and Technical Secretary will try to provide an answer. You can facilitate discussion about the standard in here.