ISO 7148-1:2025
(Main)Plain bearings — Testing of the tribological behaviour of bearing materials — Part 1: Testing of bearing metals
Plain bearings — Testing of the tribological behaviour of bearing materials — Part 1: Testing of bearing metals
This document specifies tribological tests of metallic bearing materials for plain bearings under conditions of boundary lubrication.
Paliers lisses — Essai du comportement tribologique des matériaux antifriction — Partie 1: Essai des matériaux métalliques
General Information
- Status
- Published
- Publication Date
- 09-Dec-2025
- Current Stage
- 6060 - International Standard published
- Start Date
- 10-Dec-2025
- Due Date
- 19-Oct-2025
- Completion Date
- 10-Dec-2025
Relations
- Effective Date
- 21-Oct-2023
Overview
ISO 7148-1:2025 - Plain bearings: Testing of the tribological behaviour of bearing materials - Part 1: Testing of bearing metals specifies standardized tribological tests for metallic plain bearing materials under boundary lubrication. The fourth edition updates test methods, specimen definitions and reporting requirements to help compare friction and wear behaviour of bearing material / mating part / lubricant combinations for low-speed, continuous-sliding applications.
Key topics
- Scope and purpose
- Defines tests targeted at metallic bearing materials used in plain bearings when hydrodynamic film separation cannot be guaranteed (boundary lubrication).
- Test methods
- Pin-on-disc (vertical and horizontal arrangements) - basic tribological screening and simulation of linear guidance systems.
- Block-on-ring - plane or conformal block contact for material ranking.
- Rotation under thrust load - sleeve-to-sleeve and sleeve-to-plate configurations for continuous sliding.
- Test specimens
- Standard geometries covered include disc, ring, pin, block, sleeve and plate; preparation and dimensions are specified.
- Measured outputs and symbols
- Friction force/coefficient of friction, linear and volumetric wear rates, wear volumes, surface parameters and temperatures (see Table 1).
- Test conditions and lubrication
- Emphasis on reproducing boundary-lubrication conditions (low speed, high load, start/stop scenarios) and documenting lubricant properties and temperatures.
- Test procedure and reporting
- Detailed procedures, equipment requirements and a standardized test report format (new Clause 13 and informative Annex A).
- Comparability considerations
- Notes that results depend strongly on test parameters; meaningful comparisons require identical test setups and conditions.
Applications
- Material selection and ranking for plain bearings exposed to boundary lubrication (e.g., start/stop engines, oscillating pivots, slow-speed journal bearings).
- R&D and qualification testing of bearing alloys and surface treatments.
- Supplier and OEM performance verification and lifecycle wear assessment.
- Tribology laboratories performing standardized friction and wear testing to support product development and failure analysis.
Who uses this standard
- Bearing manufacturers and designers
- Materials engineers and tribologists
- Test laboratories and certification bodies
- OEMs specifying bearing performance for machinery, automotive, marine and industrial equipment
- Maintenance engineers evaluating retrofit or replacement materials
Related standards
- ISO 4378-2 - Plain bearings: Terms, definitions, classification and symbols - Part 2: Friction and wear
- ISO 4378-3 - Plain bearings: Terms, definitions, classification and symbols - Part 3: Lubrication
- Full list of ISO 7148 series parts available on the ISO website
Using ISO 7148-1:2025 ensures consistent, comparable tribological testing of metallic plain bearing materials and supports reliable material selection for boundary-lubricated applications.
Frequently Asked Questions
ISO 7148-1:2025 is a standard published by the International Organization for Standardization (ISO). Its full title is "Plain bearings — Testing of the tribological behaviour of bearing materials — Part 1: Testing of bearing metals". This standard covers: This document specifies tribological tests of metallic bearing materials for plain bearings under conditions of boundary lubrication.
This document specifies tribological tests of metallic bearing materials for plain bearings under conditions of boundary lubrication.
ISO 7148-1:2025 is classified under the following ICS (International Classification for Standards) categories: 21.100.10 - Plain bearings. The ICS classification helps identify the subject area and facilitates finding related standards.
ISO 7148-1:2025 has the following relationships with other standards: It is inter standard links to ISO 7148-1:2012. Understanding these relationships helps ensure you are using the most current and applicable version of the standard.
ISO 7148-1:2025 is available in PDF format for immediate download after purchase. The document can be added to your cart and obtained through the secure checkout process. Digital delivery ensures instant access to the complete standard document.
Standards Content (Sample)
International
Standard
ISO 7148-1
Fourth edition
Plain bearings — Testing of the
2025-12
tribological behaviour of bearing
materials —
Part 1:
Testing of bearing metals
Paliers lisses — Essai du comportement tribologique des
matériaux antifriction —
Partie 1: Essai des matériaux métalliques
Reference number
© ISO 2025
All rights reserved. Unless otherwise specified, or required in the context of its implementation, no part of this publication may
be reproduced or utilized otherwise in any form or by any means, electronic or mechanical, including photocopying, or posting on
the internet or an intranet, without prior written permission. Permission can be requested from either ISO at the address below
or ISO’s member body in the country of the requester.
ISO copyright office
CP 401 • Ch. de Blandonnet 8
CH-1214 Vernier, Geneva
Phone: +41 22 749 01 11
Email: copyright@iso.org
Website: www.iso.org
Published in Switzerland
ii
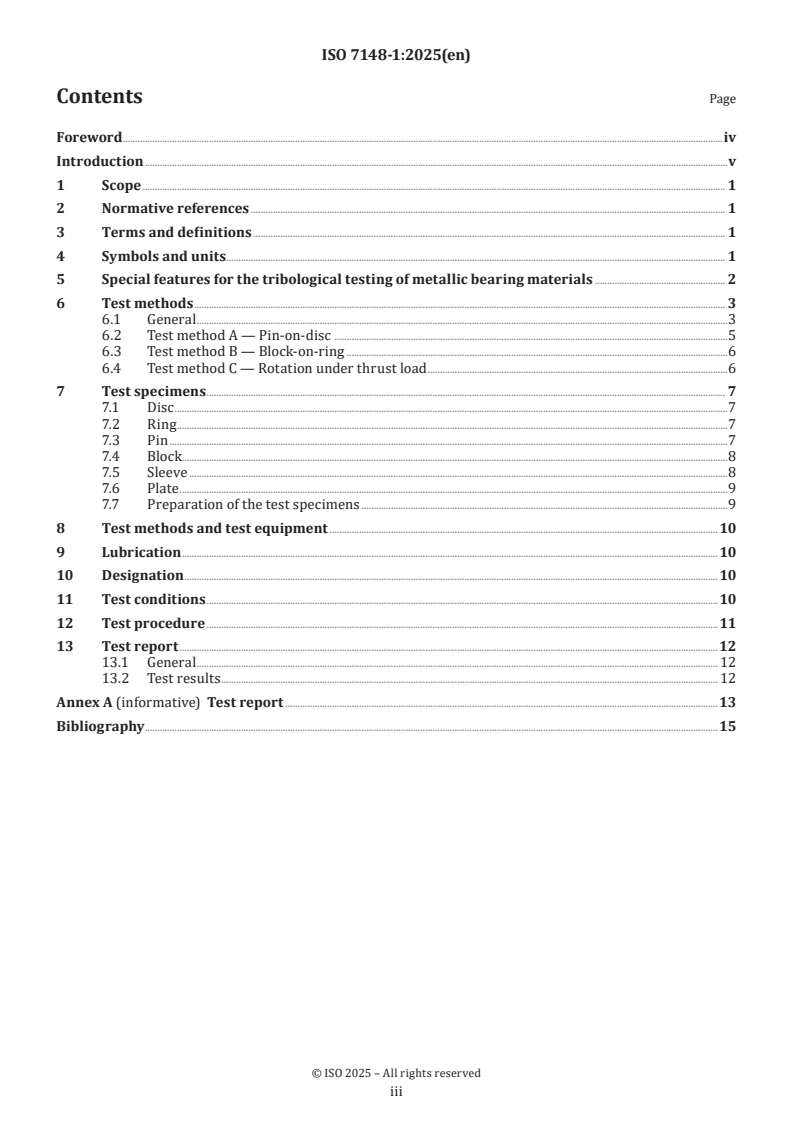
Contents Page
Foreword .iv
Introduction .v
1 Scope . 1
2 Normative references . 1
3 Terms and definitions . 1
4 Symbols and units. 1
5 Special features for the tribological testing of metallic bearing materials . 2
6 Test methods . 3
6.1 General .3
6.2 Test method A — Pin-on-disc .5
6.3 Test method B — Block-on-ring .6
6.4 Test method C — Rotation under thrust load .6
7 Test specimens . 7
7.1 Disc .7
7.2 Ring .7
7.3 Pin .7
7.4 Block.8
7.5 Sleeve .8
7.6 Plate .9
7.7 Preparation of the test specimens .9
8 Test methods and test equipment .10
9 Lubrication . 10
10 Designation . 10
11 Test conditions . 10
12 Test procedure .11
13 Test report .12
13.1 General . 12
13.2 Test results . 12
Annex A (informative) Test report .13
Bibliography .15
iii
Foreword
ISO (the International Organization for Standardization) is a worldwide federation of national standards
bodies (ISO member bodies). The work of preparing International Standards is normally carried out through
ISO technical committees. Each member body interested in a subject for which a technical committee
has been established has the right to be represented on that committee. International organizations,
governmental and non-governmental, in liaison with ISO, also take part in the work. ISO collaborates closely
with the International Electrotechnical Commission (IEC) on all matters of electrotechnical standardization.
The procedures used to develop this document and those intended for its further maintenance are described
in the ISO/IEC Directives, Part 1. In particular, the different approval criteria needed for the different types
of ISO document should be noted. This document was drafted in accordance with the editorial rules of the
ISO/IEC Directives, Part 2 (see www.iso.org/directives).
ISO draws attention to the possibility that the implementation of this document may involve the use of (a)
patent(s). ISO takes no position concerning the evidence, validity or applicability of any claimed patent
rights in respect thereof. As of the date of publication of this document, ISO had not received notice of (a)
patent(s) which may be required to implement this document. However, implementers are cautioned that
this may not represent the latest information, which may be obtained from the patent database available at
www.iso.org/patents. ISO shall not be held responsible for identifying any or all such patent rights.
Any trade name used in this document is information given for the convenience of users and does not
constitute an endorsement.
For an explanation of the voluntary nature of standards, the meaning of ISO specific terms and expressions
related to conformity assessment, as well as information about ISO's adherence to the World Trade
Organization (WTO) principles in the Technical Barriers to Trade (TBT), see www.iso.org/iso/foreword.html.
This document was prepared by Technical Committee ISO/TC 123, Plain bearings, Subcommittee SC 2,
Materials and lubricants, their properties, characteristics, test methods and testing conditions.
This fourth edition cancels and replaces the third edition (ISO 7148-1:2012), which has been technically
revised.
The main changes are as follows:
— Clause 2 "Normative references" has been updated;
— Clause 3 "Terms and definitions" has been added and subsequent clauses have been renumbered;
— Table 1 and Table A.1 have been updated;
— Clause 6 has been updated:
— a new Table 2 has been added to give a comparison of test methods;
— key tables of figures have been updated;
— Test method A2 (pin-up and disc-down) in Figure 1;
— Clause 7, Test specimens, has been updated;
— Clause 8, Test methods and test equipment, has been updated;
— Clause 11, Test conditions, has been updated;
— a new Clause 13, Test report, has been added.
A list of all parts in the ISO 7148 series can be found on the ISO website.
Any feedback or questions on this document should be directed to the user’s national standards body. A
complete listing of these bodies can be found at www.iso.org/members.html.
iv
Introduction
The test procedures described in this document enable the friction and wear behaviour of bearing material/
mating/lubricant combinations to be compared with that of other combinations, thus facilitating the
selection of a bearing material for running repeatedly or for long periods under conditions of boundary
lubrication, low speed and continuous sliding. Owing to differences in test conditions, measured friction and
wear values can be expected to vary from one test facility to another.
The test results give useful information for practical application only if all parameters of influence are
identical. The more the test conditions deviate from the actual application, the greater the uncertainty of the
applicability of the results.
v
International Standard ISO 7148-1:2025(en)
Plain bearings — Testing of the tribological behaviour of
bearing materials —
Part 1:
Testing of bearing metals
1 Scope
This document specifies tribological tests of metallic bearing materials for plain bearings under conditions
of boundary lubrication.
2 Normative references
The following documents are referred to in the text in such a way that some or all of their content constitutes
requirements of this document. For dated references, only the edition cited applies. For undated references,
the latest edition of the referenced document (including any amendments) applies.
ISO 4378-2, Plain bearings — Terms, definitions, classification and symbols — Part 2: Friction and wear
ISO 4378-3, Plain bearings — Terms, definitions, classification and symbols — Part 3: Lubrication
3 Terms and definitions
For the purposes of this document, the terms and definitions given in ISO 4378-2 and ISO 4378-3 apply.
ISO and IEC maintain terminological databases for use in standardization at the following addresses:
— ISO Online browsing platform: available at https:// www .iso ,org/ obp
— IEC Electropedia: available at https:// www .electropedia .org/
4 Symbols and units
See Table 1.
Table 1 — Symbols and units
Symbol Term Unit
A, B, C
Test method —
(A1, A2 C1, C2)
a Sliding distance km
A Elongation at fracture %
b Disc width mm
D
b Ring width mm
R
b Block width mm
B
d Disc outside diameter mm
D
d Pin diameter mm
P
d Ring outside diameter mm
R
TTabablele 1 1 ((ccoonnttiinnueuedd))
Symbol Term Unit
Coefficient of friction; ratio between friction force and normal force, i.e.:
F
f —
f
f =
F
n
F Friction force N
f
F Normal force N
n
Coefficient of wear, volumetric wear rate related to the normal force, i.e.:
V W
K v mm /(N·km)
w
w
K = =
w
Fa× F
n n
l Linear wear as measured by change in distance mm
w
m Mass of the bearing material removed by wear g
w
Ra Surface parameter, arithmetic mean height µm
RH Relative humidity %
Rk Surface parameter, core height µm
Rpk Surface parameter, reduced peak height µm
Rvk Surface parameter, reduced pit depth µm
R 0,2 % Compression limit N/mm
cp0,2
R Tensile strength N/mm
m
R 0,2 % Proof stress N/mm
p0,2
Specimen's temperature near the sliding surface during testing under steady-
T °C
state conditions
T Ambient temperature °C
amb
T Lubricant temperature °C
L
t Plate thickness mm
t Test duration h
Ch
U Sliding velocity m/s
V Total wear volume, calculated from the mass loss mm
m
V Total wear volume, calculated from the wear-sliding distance curve mm
w
l
w
w mm/km
Linear wear rate, i.e.: w =
l l
a
V
w
w Volumetric wear rate, i.e.: w = mm /km
v v
a
η Lubricant dynamic viscosity Pa · s
5 Special features for the tribological testing of metallic bearing materials
Plain bearings made of metallic materials usually require lubrication (e.g. oil or grease) to ensure a low rate
of friction and wear.
If possible, lubricated plain bearings should be designed to run under hydrodynamic conditions, where the
sliding surfaces of the journal and the plain bearing are always fully separated by a film of lubricant. Under such
conditions, friction depends on the rheological properties of the lubricant, and wear normally does not occur.
If hydrodynamic operation cannot be ensured, boundary lubrication prevails, and wear of the bearing and
mating material is likely. This can happen during the starting or running down phase of a hydrodynamic
plain bearing or when high loads, low sliding velocities, poor lubrication or oscillating movements prevent
hydrodynamic action.
6 Test methods
6.1 General
Different test methods are provided for tests in accordance with this document. An overview on test methods
is given in Table 2. Test method should correspond to the practical application as closely as possible.
Table 2 — Overview on test methods
Rotating
Contact Load
Test method moving Sketch
a
mode direction
b
part
A1
Pin-on-disc PP Thrust Disc
(vertical)
A2
PP Thrust Disc
Pin-on-disc(hori-
zontal)
B
c
PC Radial Ring
Block-on-ring
a
Key: C——Cylindrical surface; P——Plane;
b
Usually, the base and larger body is determined to be the stationary body, while the smaller one as the
counter-body is to be designated in motion. However, sometimes the designation is derived from the practical
application.
c
Theoretically, the contact at start is a line contact. A conformal contact is developed when the block wears
over time. In some cases, it is beginning with conformal contact, then, the contact mode isn’t PC.
TTabablele 2 2 ((ccoonnttiinnueuedd))
Rotating
Contact Load
Test method moving Sketch
a
mode direction
b
part
C1
PP Thrust Sleeve
Sleeve-to-sleeve
C2
PP Thrust Sleeve
Sleeve-to- plate
a
Key: C——Cylindrical surface; P——Plane;
b
Usually, the base and larger body is determined to be the stationary body, while the smaller one as the
counter-body is to be designated in motion. However, som
...


Questions, Comments and Discussion
Ask us and Technical Secretary will try to provide an answer. You can facilitate discussion about the standard in here.
Loading comments...